I’m the kind of person who finds fulfillment in Task Accomplishment. It gives me great pleasure to not only write a task list, but then to do the task, check it off and ultimately line through it. No matter the job I need to do, I like to write it down and mark it off. Even the goal to write it down and mark it off gets marked off and lined through. 2025 was a pretty productive year, brewing-wise, for me. I hope that 2026 holds up as well. For the sake of a nice list, here is my planned brew schedule for the year …
January
1) No Name Yet (Style: Dry Cider) – This is a continuation of an experiment with about 100 pounds of apples. I’ll be uploading a final post giving the details on this one later.
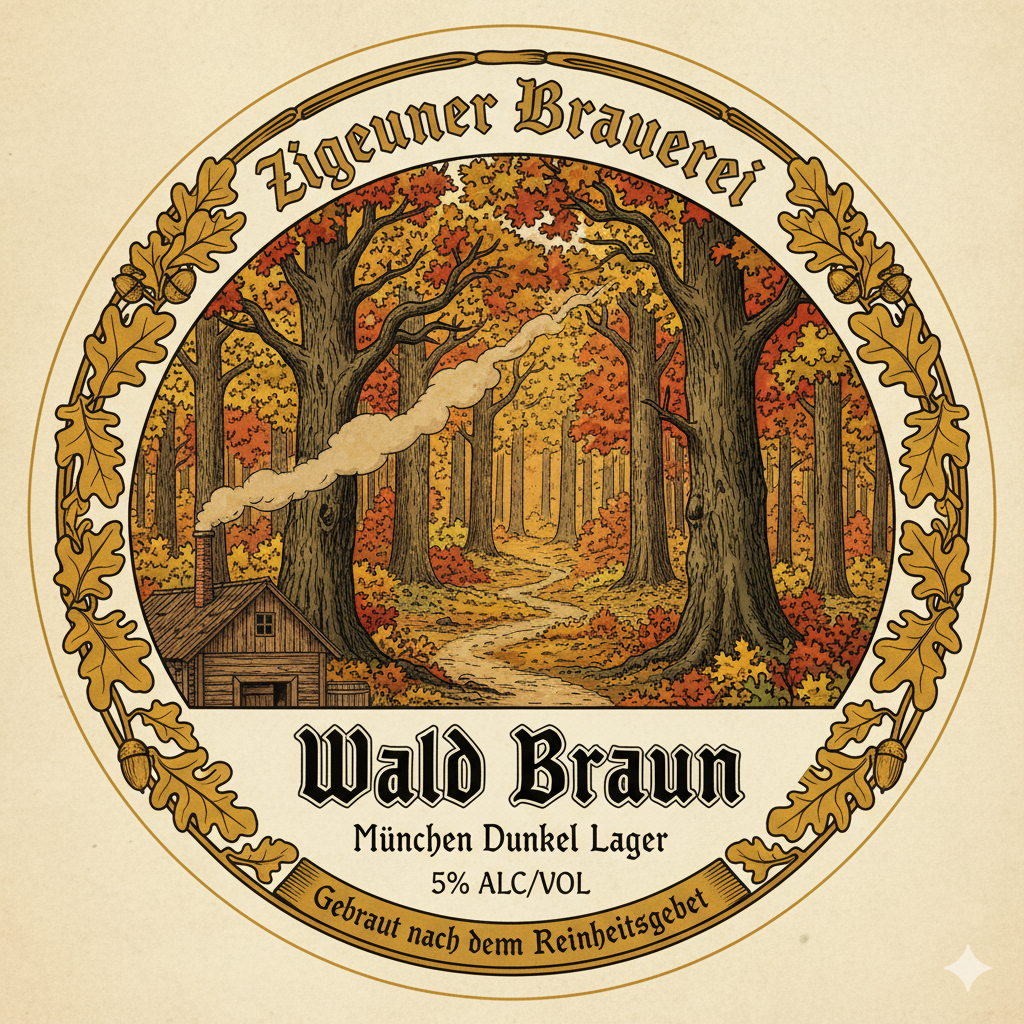
2) Wald Braun (Style: Munich Dunkel) – For the last five Januaries I’ve focused on brewing either a Sahti or a Lager. Using the cooler temps to help my lager time. I’m going for a darker brown lager this time with more malt character coming through. I used the AI to help with my label this time …
February – No Brew this month … but the lager will be lagering and the Plum Lambic continuing its journey … both in the Fermentarium.
March

3) Morganna’s Mystical Merkin (Style: Imperial Stout) – This is my annual Bourbon-Oaked Imperial Stout (I try to use Maker’s Mark as my bourbon of choice … this year I’m going to use the Cask Strength one). This has 20+ lbs of grain malting in my 20 lb limit Brew System. It requires careful monitoring …but the final outcome is well worth it!

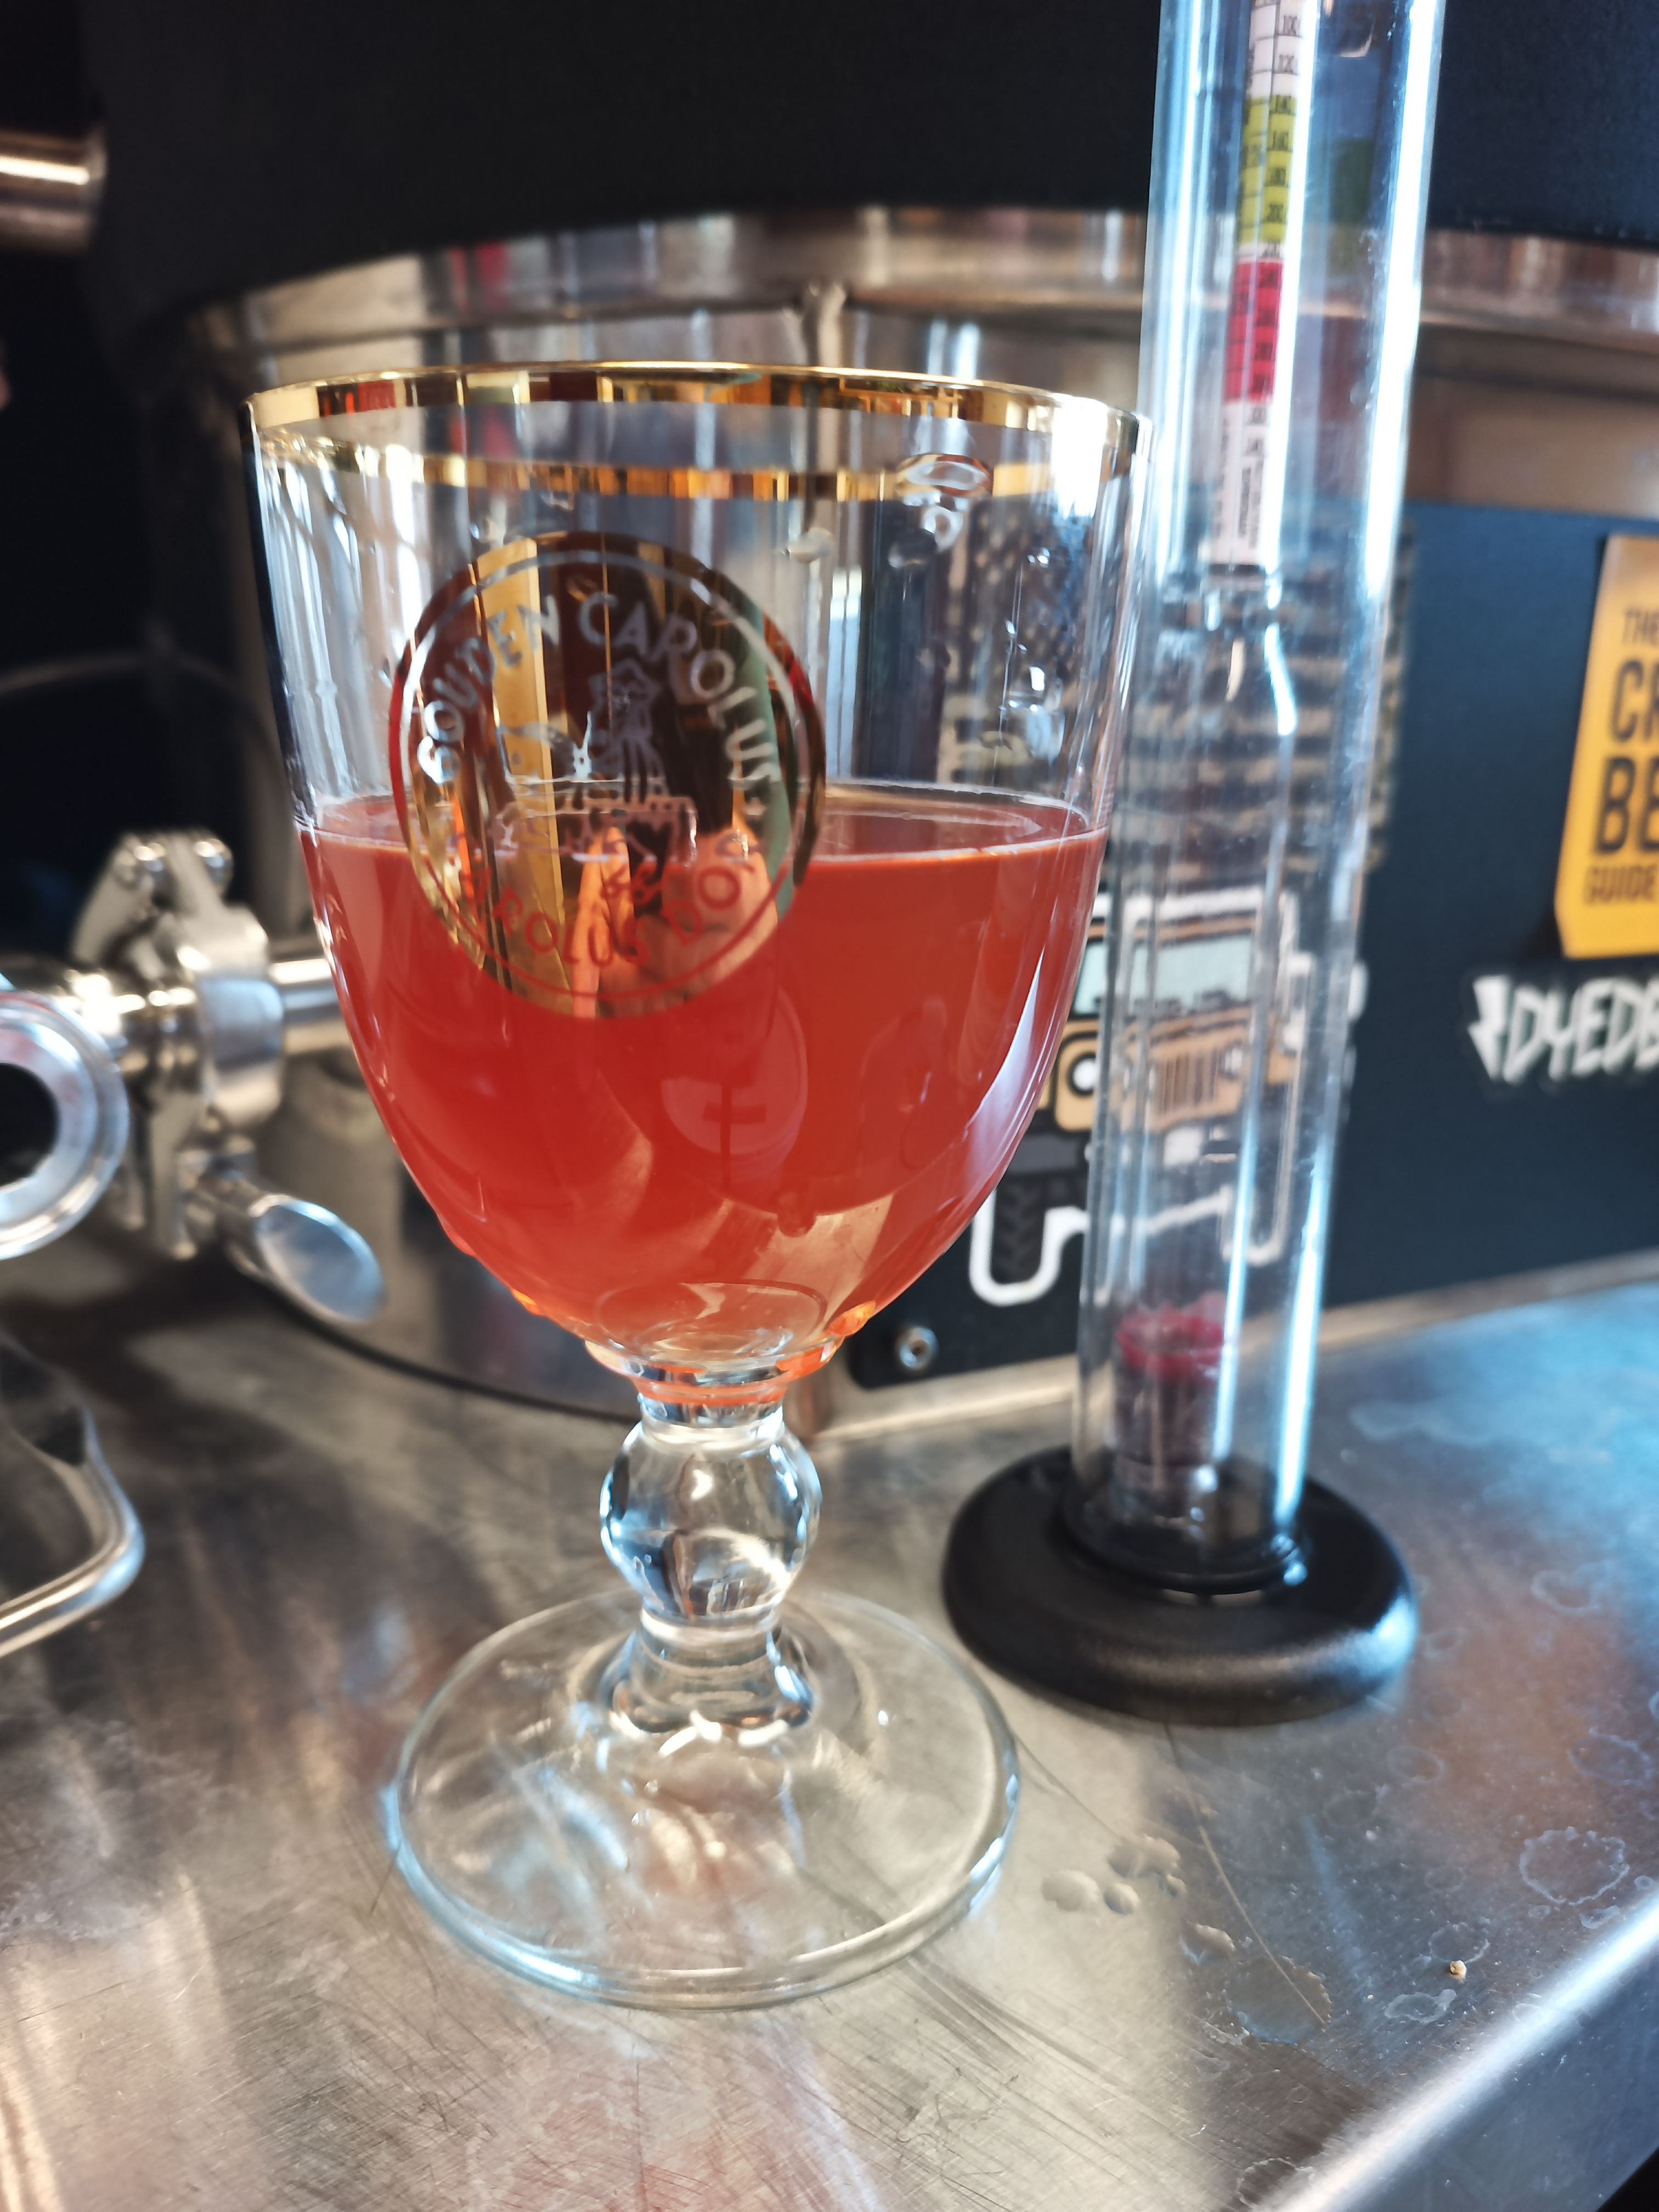
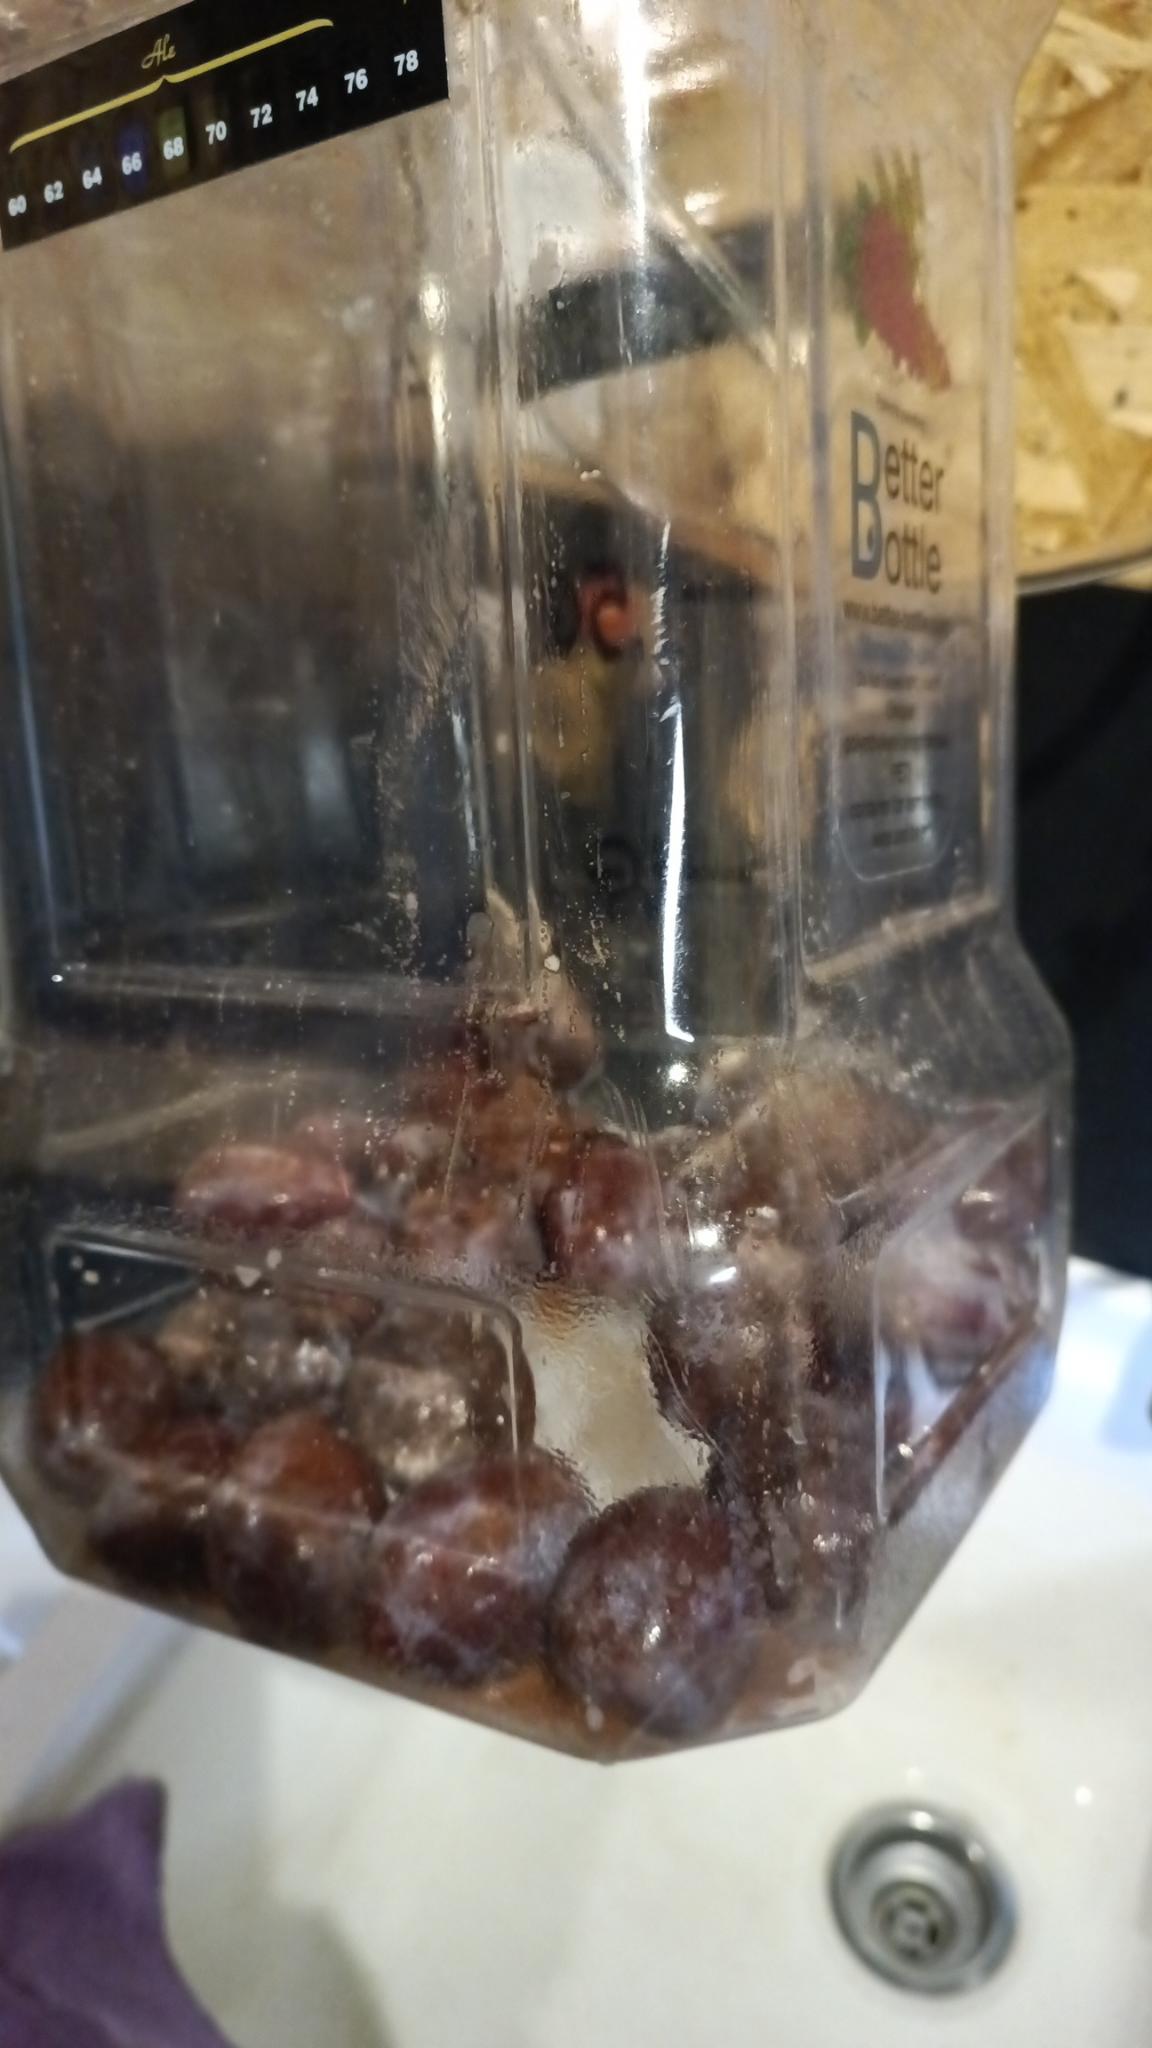
4) La Prugna (Style: Fruit Lambic-Style). This is the final product of my five year Gueuze / Lambic Experiment. Although I love the outcomes, it’s too much work or the payoff. The plums are from a local friend’s yard (Italian) … overall fermentation period of about 15 months … I’ll be bottling this one only … no brew required.
April
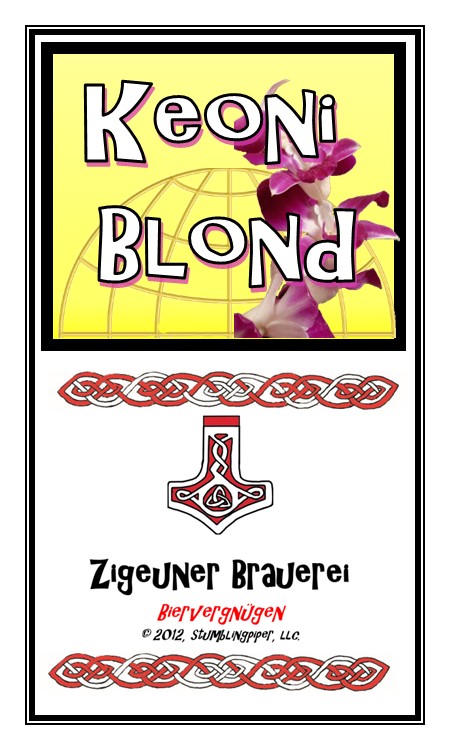
5) Keoni Blond (Style: Belgian-style Blond Ale). This is the sixth year for this particular beer. I began brewing it the day my first grandson was born, so it’s named after him. I really like this iteration — the WLP 550 Yeast is fantastic and has provided a great foundation for this particular beer. Looking forward to brewing it AND drinking it.
May
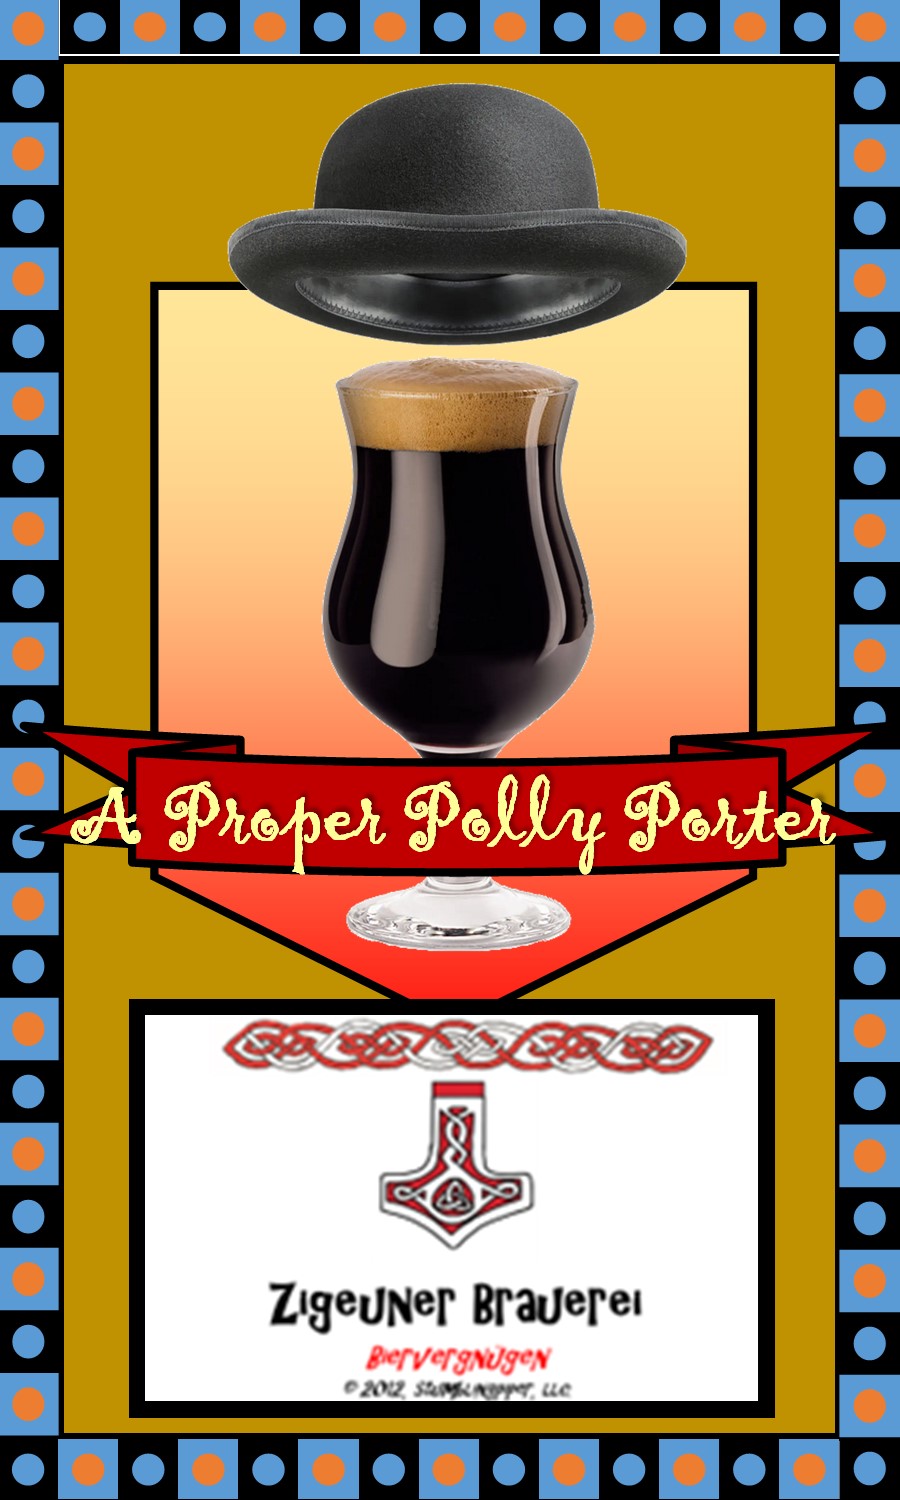
6) A Proper Polly Porter (English-style Porter). This is a beer I brewed on my second grandchild’s birthday. lol. It started as a Baltic Porter, but it was just too much. I dialed it back to an English-style Porter — very nice toasty flavor … I’m enjoying making these lower ABV, more malty styles currently. (I do have a balance, though, with the spicy, hoppy Belgian-styles I’ve been making).
June — This month’s beer (#7) is still to be decided. Celebrating my third grandchild’s birth, I tried a couple of different options last year. The first was a Kentucky Common — I didn’t find it to be appealing to me. My daughter and her husband asked if I would make a Cider since my grandchild’s name is “Pomona.” I did that — see entry for January above. However, it was very labor-intensive and I’m not really set up to make ciders — I’m a beer brewer. haha. As Paul Harvey used to say “Stand by for news!”

July
8) Saint Hommel (Belgian-style IPA). Alright! Back to the Belgian styles. This beer has become a favorite for me … it will be the 5th time brewing it — it’s the one we brewed together at Kelowna Brewing Company (my friend Josh and I). It’s also the one we brewed in 2024 at Sierra Nevada Brewing in Asheville, NC. I loosely based it on the aroma/flavors I get from the Poperings Hommelbier. I think it’s pretty close … it is quite tasty!

This beer has moved up in my list of favorites. Of course, Orval is my favorite all-time — and the clone of it is for July … see below. However, I would say this beer is a close second. I love that blend of hop/yeast character. There’s just something about it that really appeals to me. The fact that I won a big bottle of it and a pair of socks the last time I was drinking it in Poperinge has nothing to do with my decision. This is all about the flavor!

August
9) Liquid Valor or Valle Dorado (Orval Clone). My all time favorite beer and my recipe is dialed in pretty close. I can’t decide on my favorite name, so I’ll update the label when I brew the beer. I’ve run out of the appropriate yeast, so it’s time to re-stock and rebuild my supply. I now have a dedicated room/fridge for brew supplies, so one of my goals this year is to get my lab / yeast propagation back in order. So much fun, so little time.

September
10) Dubbel Trubbel (Belgian-style Dubbel). Sticking with the Belgian theme, I felt it was time to get a Dubbel going again. I really like this style. Trying for a clone of the Westmalle or Chimay Dubbels. Those both come in as favorites, too. The recipe needs just a little tweaking and we’ll see how it goes!

October
11) Merlin’s Magical Elixir (English-style Barley Wine). I’ve decided for the month of “Jamestober” to transition from my Lambic experiment to a Barley Wine. I’ve never made a great one of these and I’m now up to the challenge! It’s named Merlin’s Magical Elixir since I live in “Magic Estates” on “Merlin Court.” It only makes sense, then, that it be an English-style. I can’t wait to make it!
November
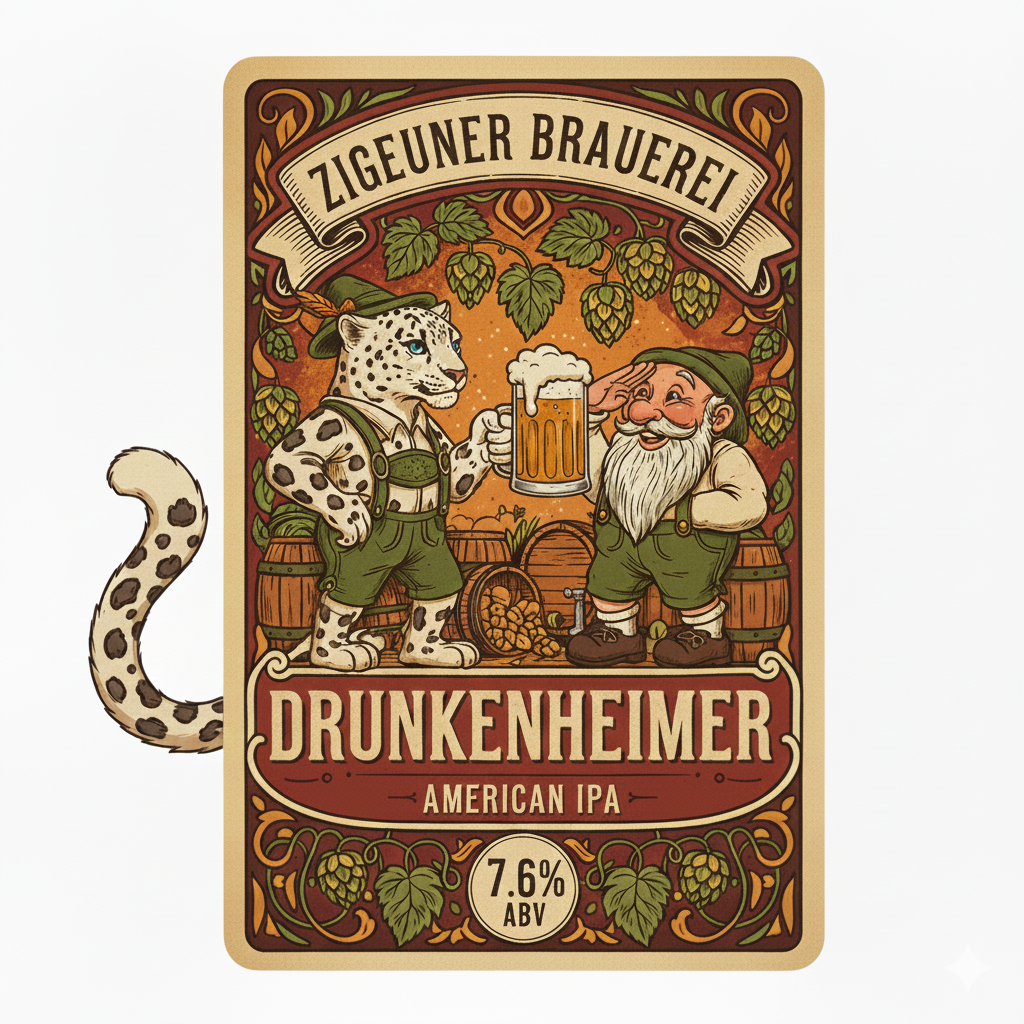
11) Drunkenheimer (American IPA). This will be the second iteration of this beer. Yes, I used Ai for the beer label. Yes, a gnome and a Snow Leopard. When you drink big beers, you see strange things. haha. This was quite tasty — I’m hoping the second iteration is as good!
December
12) Weizen Bier. My final beer of the year will be a Weisse. I will be modeling it after the Schneider Weisse Tap #7 (the Original). I love their beers. The Doppelbock they make (Aventinus) is probably my 3rd favorite beer — but so dangerous. haha. I’m sticking with the standard Hefeweizen. This is going to be a challenge on my brew-in-a-bag system, but we’ll see how it comes out. Life is meant to be challenging, i think. lol
It’s a big brew year — hopefully I can keep track of it on the site as well… Enjoy!
Beermentor